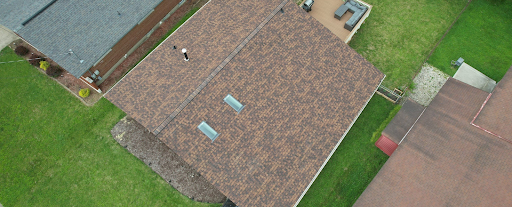
Here, you will find valuable insights, tips, and expert advice on roofing, gutters, siding, and skylights—from preventative maintenance to selecting the right materials for your home. With over 20 years serving the Greater Dayton and Cincinnati communities,we understand the unique challenges Ohio weather presents. Each post is crafted to provide you with the information you need to make informed decisions about your roof and exterior.
Stay updated with our latest articles and let our expertise empower you to make the best choices for your home’s protection and beauty.
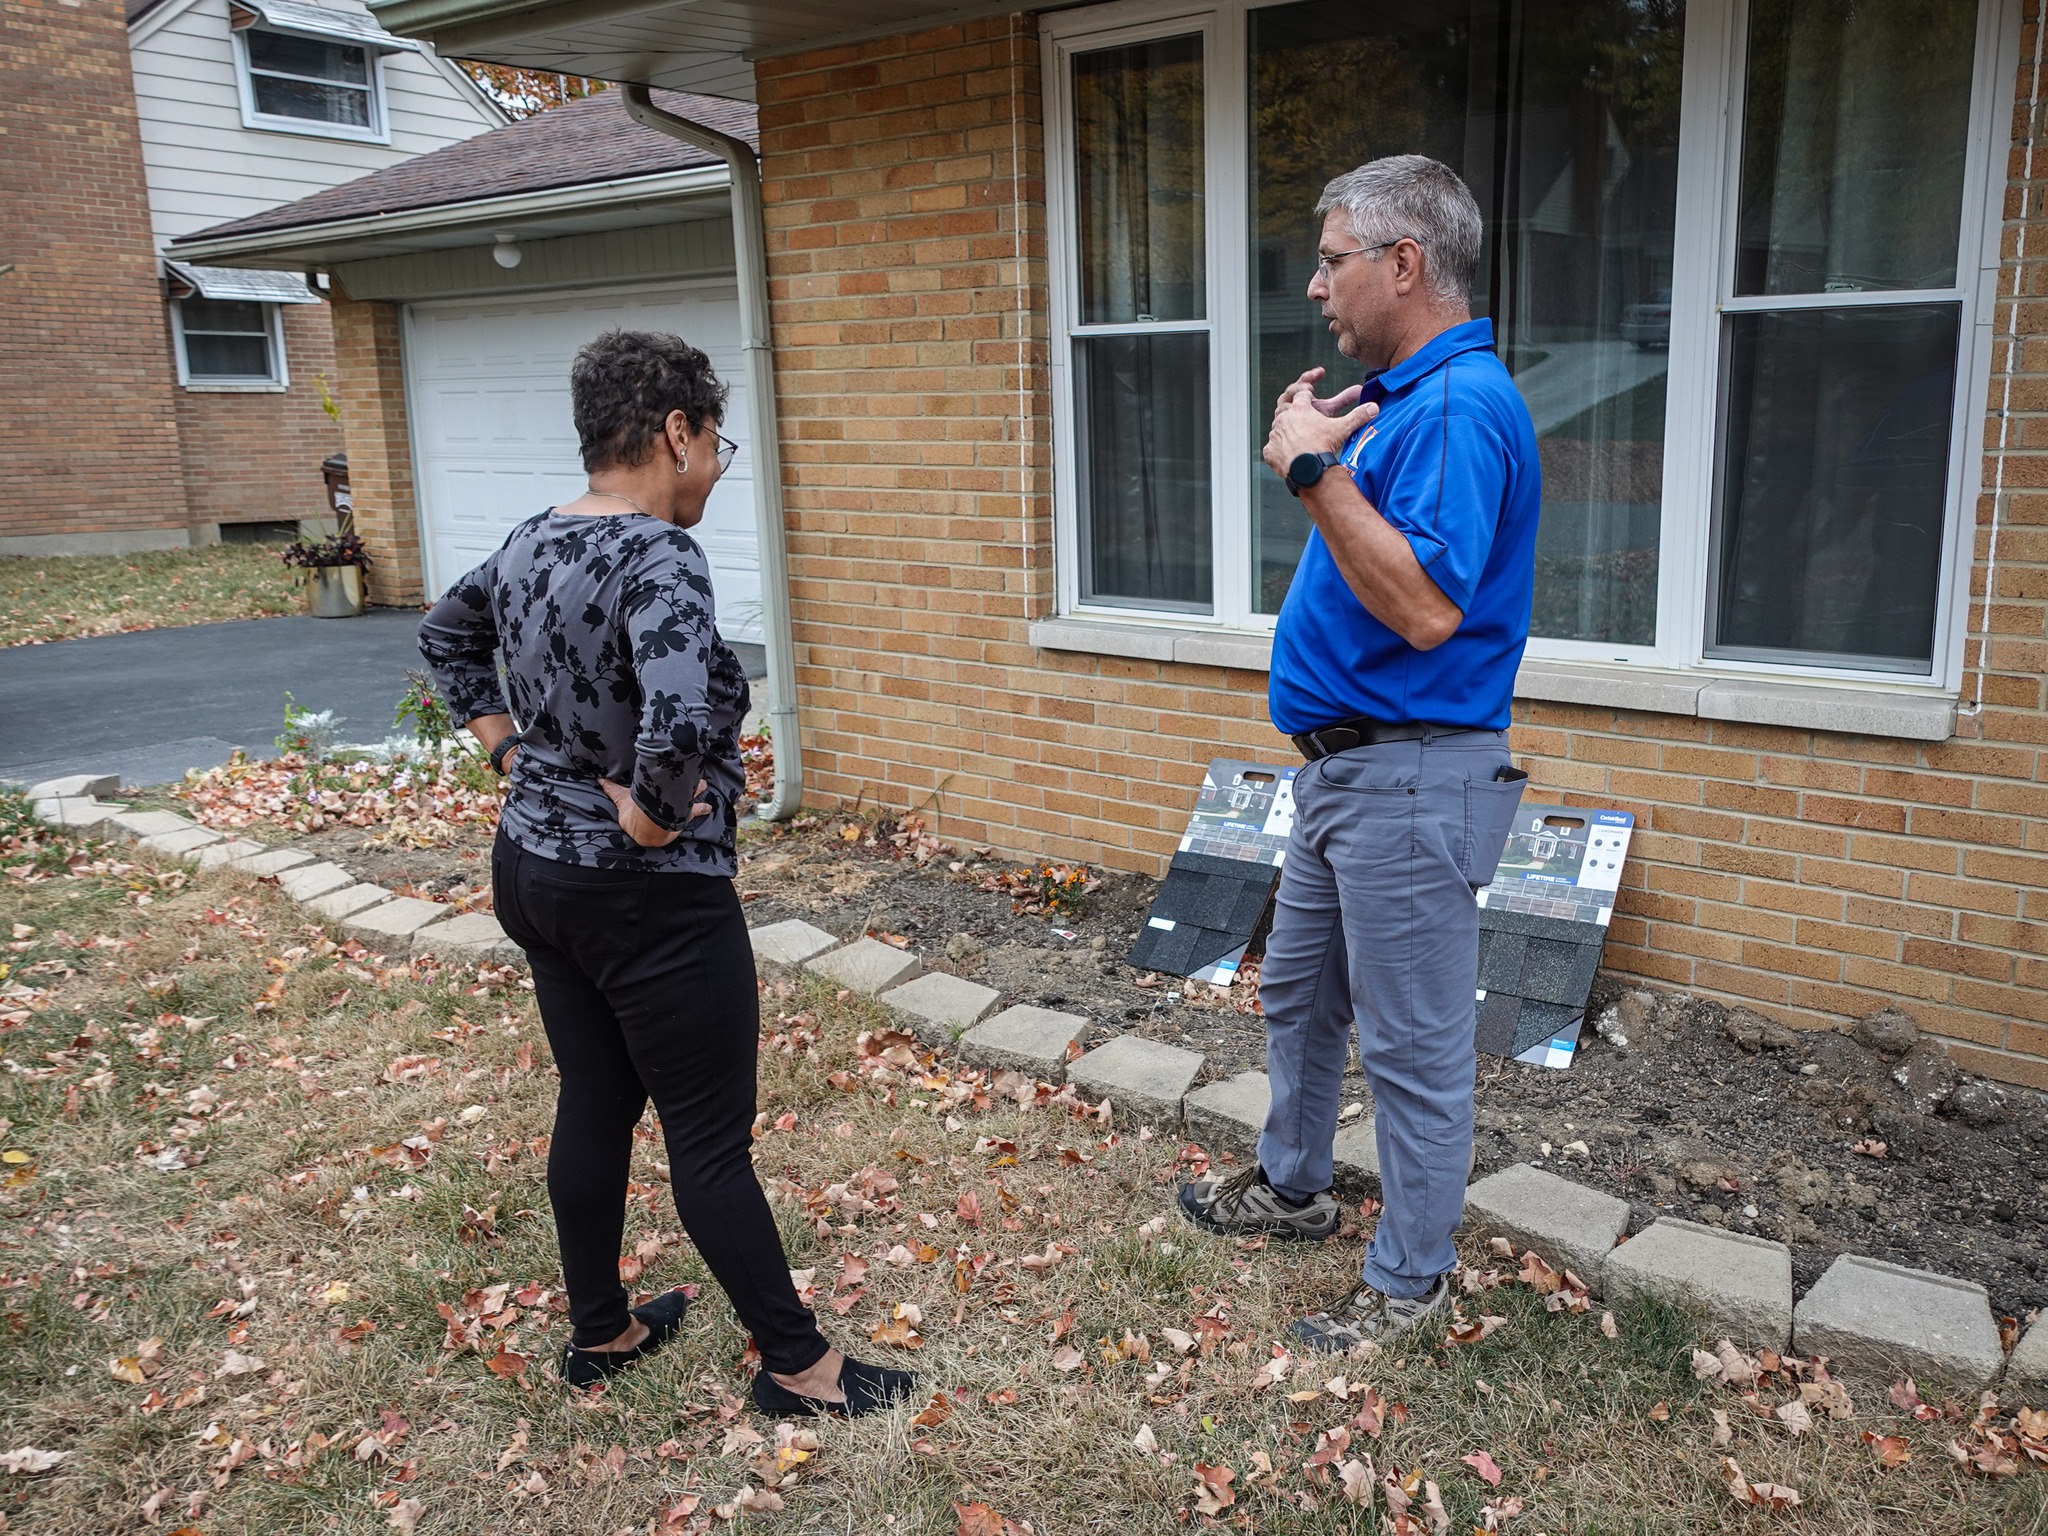
Learn how to choose the right roofing company in Ohio. Discover key factors like reviews, credentials, communication, and safety to make a confident decision.
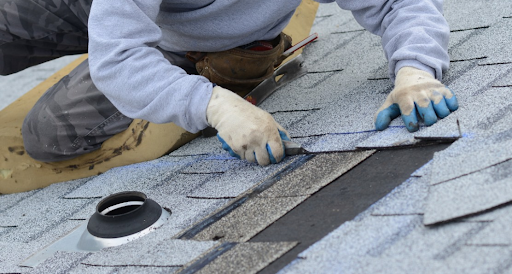
Discover the key differences between a home inspection and a roof inspection. Learn why a professional roof inspection is essential for catching hidden damage and protecting your home.